Soldering and Screaming
Guitar stompboxes were once an addiction of mine. Collecting and building a monster pedal board to experiment and combine effects, often resulting in a cacophony of ridiculous noise, was a lot of fun and I spent an obscene amount of money trying to build my dream setup for jamming on. Recently I came across a website for pedal kits Fuzzdogs Pedal Parts and was interested to have a go at building one, improve my soldering skills and hopefully end up with a useable Tube Screamer to play with.
The Tube Screamer kit I received is modeled on the Ibanez TS808 and TS9 ,Stevie Ray Vaughan signature sound, which go for around £150. If I could put one together for £35 (including the case) it’d be a bargain and the knowledge would be invaluable if I needed to repair or do a mod project in future.
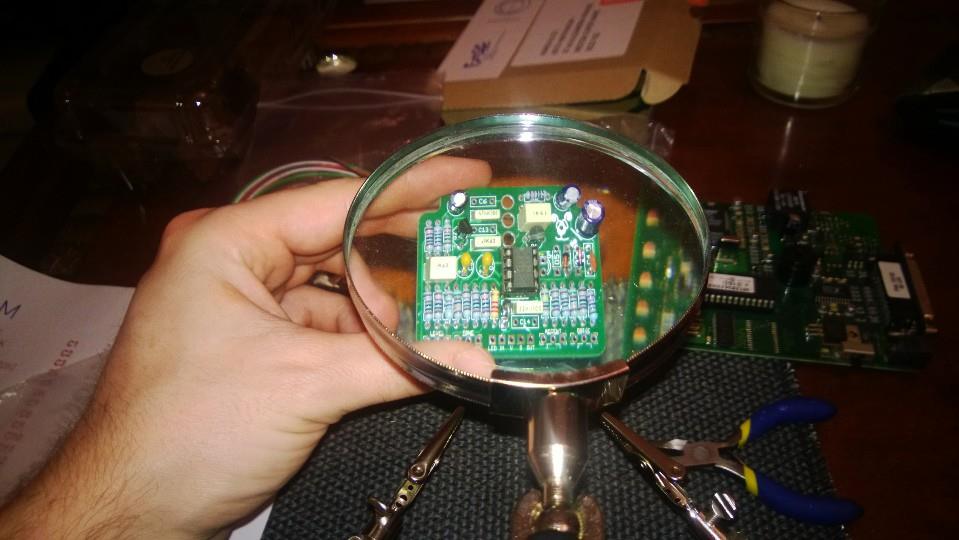
I’m fairly new to soldering electronics so spotting how small the the pcb board was (50 x 37mm!!) and how many components there were was pretty daunting. Luckily Fuzzdogs kit came with clear downloadable instructions which include an easy to follow circuit diagram and labeled pcb. The only major thing you need to identify is which resistor is which. This can be done by using a helpful colour code chart OR ,if you’re eyes hurt squinting to make a judgment call on whether the ring is red,orange or brown, you could also use a Multimeter to double check. It’s not cheating.
I highly recommend getting a Helping Hands with a magnifying glass to hold the pcb still whilst you do the work. This will save a lot of frustration when placing and soldering components and inspecting any dodgy solder work.
Reading resistors and soldering components on the pcb

Next came the moment of truth. Testing the circuit. For this Fuzzdog recommends wiring up the battery and the input/output jacks to test before getting carried away with all the switch,knobs etc. This turned out to be incredibly sage advice as the LED lit up but no fuzzy goodness came out of the pedal. Onto some debugging then.
I had deduced the LED circuit and power was fine due it lighting up but going back over the circuit and pcb diagram I found a couple of reasons why I was so fuzzless.
- I had missed a very small jumper wire over the points labeled ‘accent’.
- A transistor was the wrong way round.
A rookie mistake on my part but lesson learned and it gave me a chance to practice some desoldering. Another vital tool reduced the frustration for this task too,the desoldering pump.
Debugging the circuit
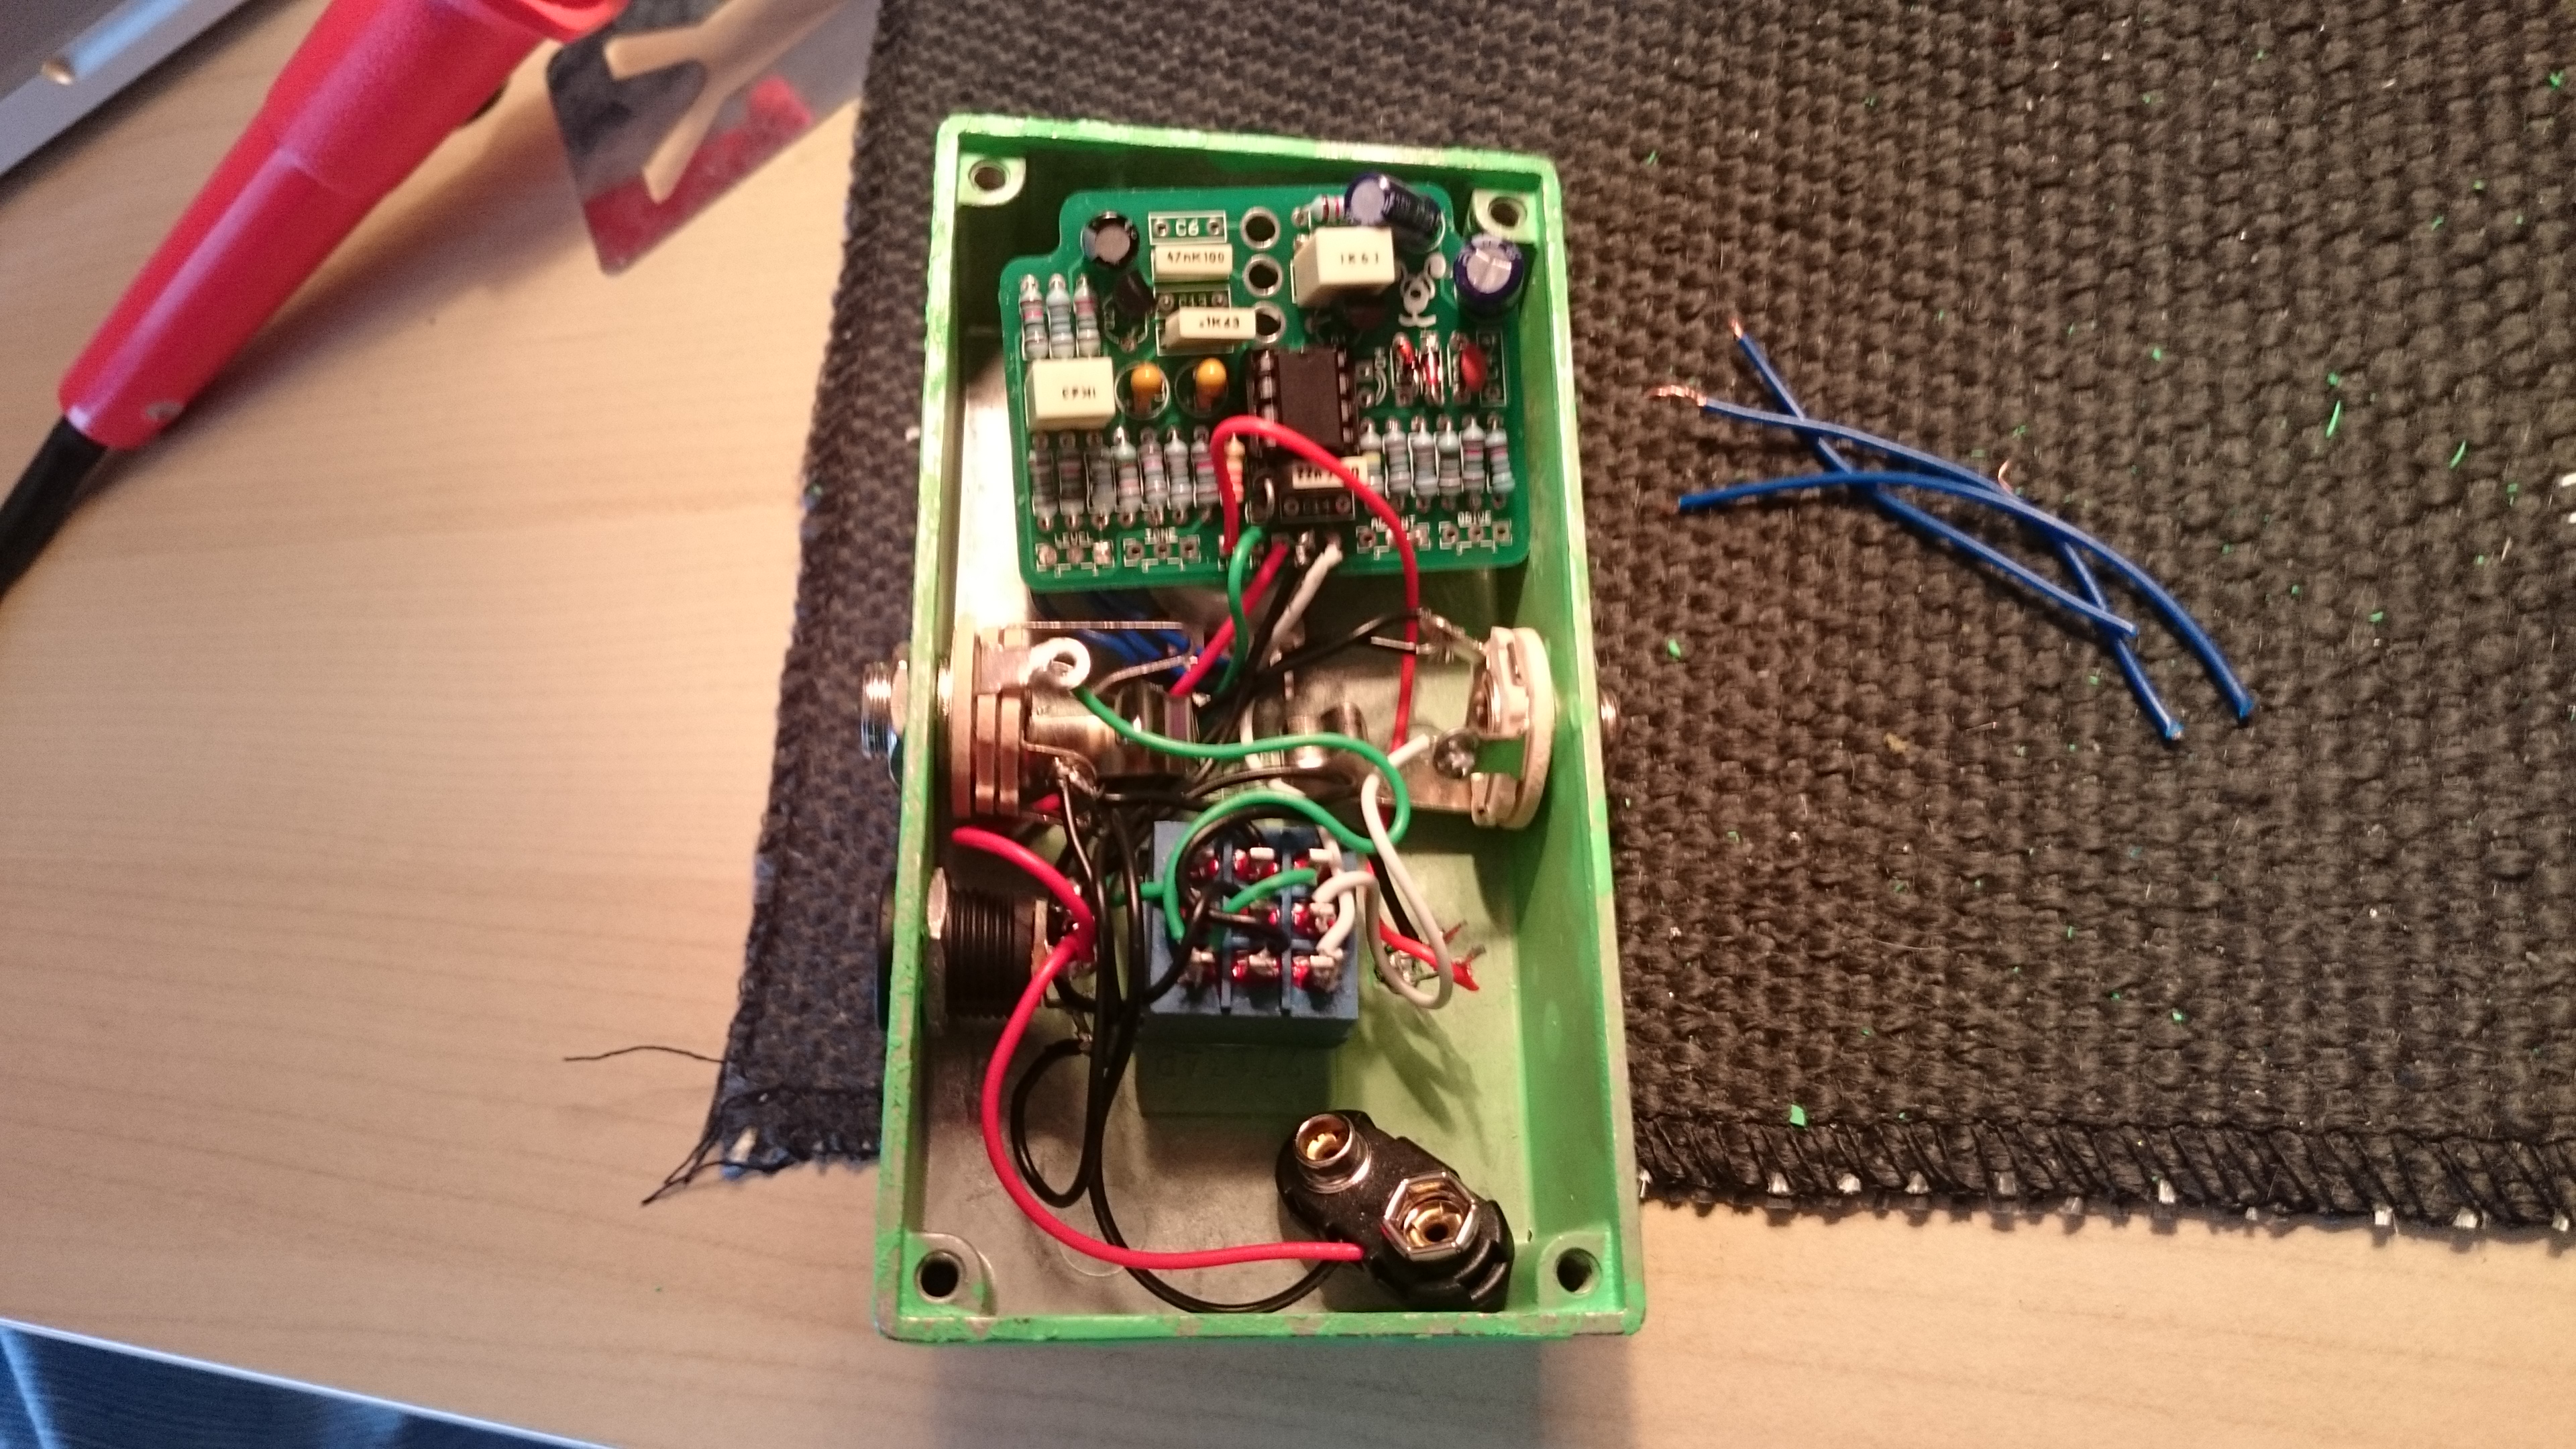
The final part of the puzzle was to wire the switch, dc power input and the tone,volume and distortion pots all included with another diagram instructing on how to authentically wire the switch to only turn on with a jack inserted.
The wiring, as I learned, is best done after arranging all the parts in the case to keep it neat and make the most of what little space is available. I had to redo some wiring, clip the pot edges and flatten the capacitors just so everything would fit and leave space for a battery too. My wiring isn’t pretty but it works and everything made it in the case.
Wiring the switch, knobs and trying to arrange neatly in the case
And there it is, looking like a pedal and giving a clone sound of the TS808 with a stellar crunchy overdrive, all the tone clarity without muddying and is dead quiet when not in use. I’m pleased with the result. To top off the kit, Fuzzdog had given some further mod options including extra components for asymmetrical clipping and space on the board for a ‘more bass mod’ which I intend to do in future when I’ve exhausted the standard settings.
I sprayed the case bright green , added the silver knobs and have a design on the way to customise the finish. I’ll post a pic when it’s complete. Do you have any experiences building a pedal or useful soldering tips to share?


