DIY Mini Greenhouse
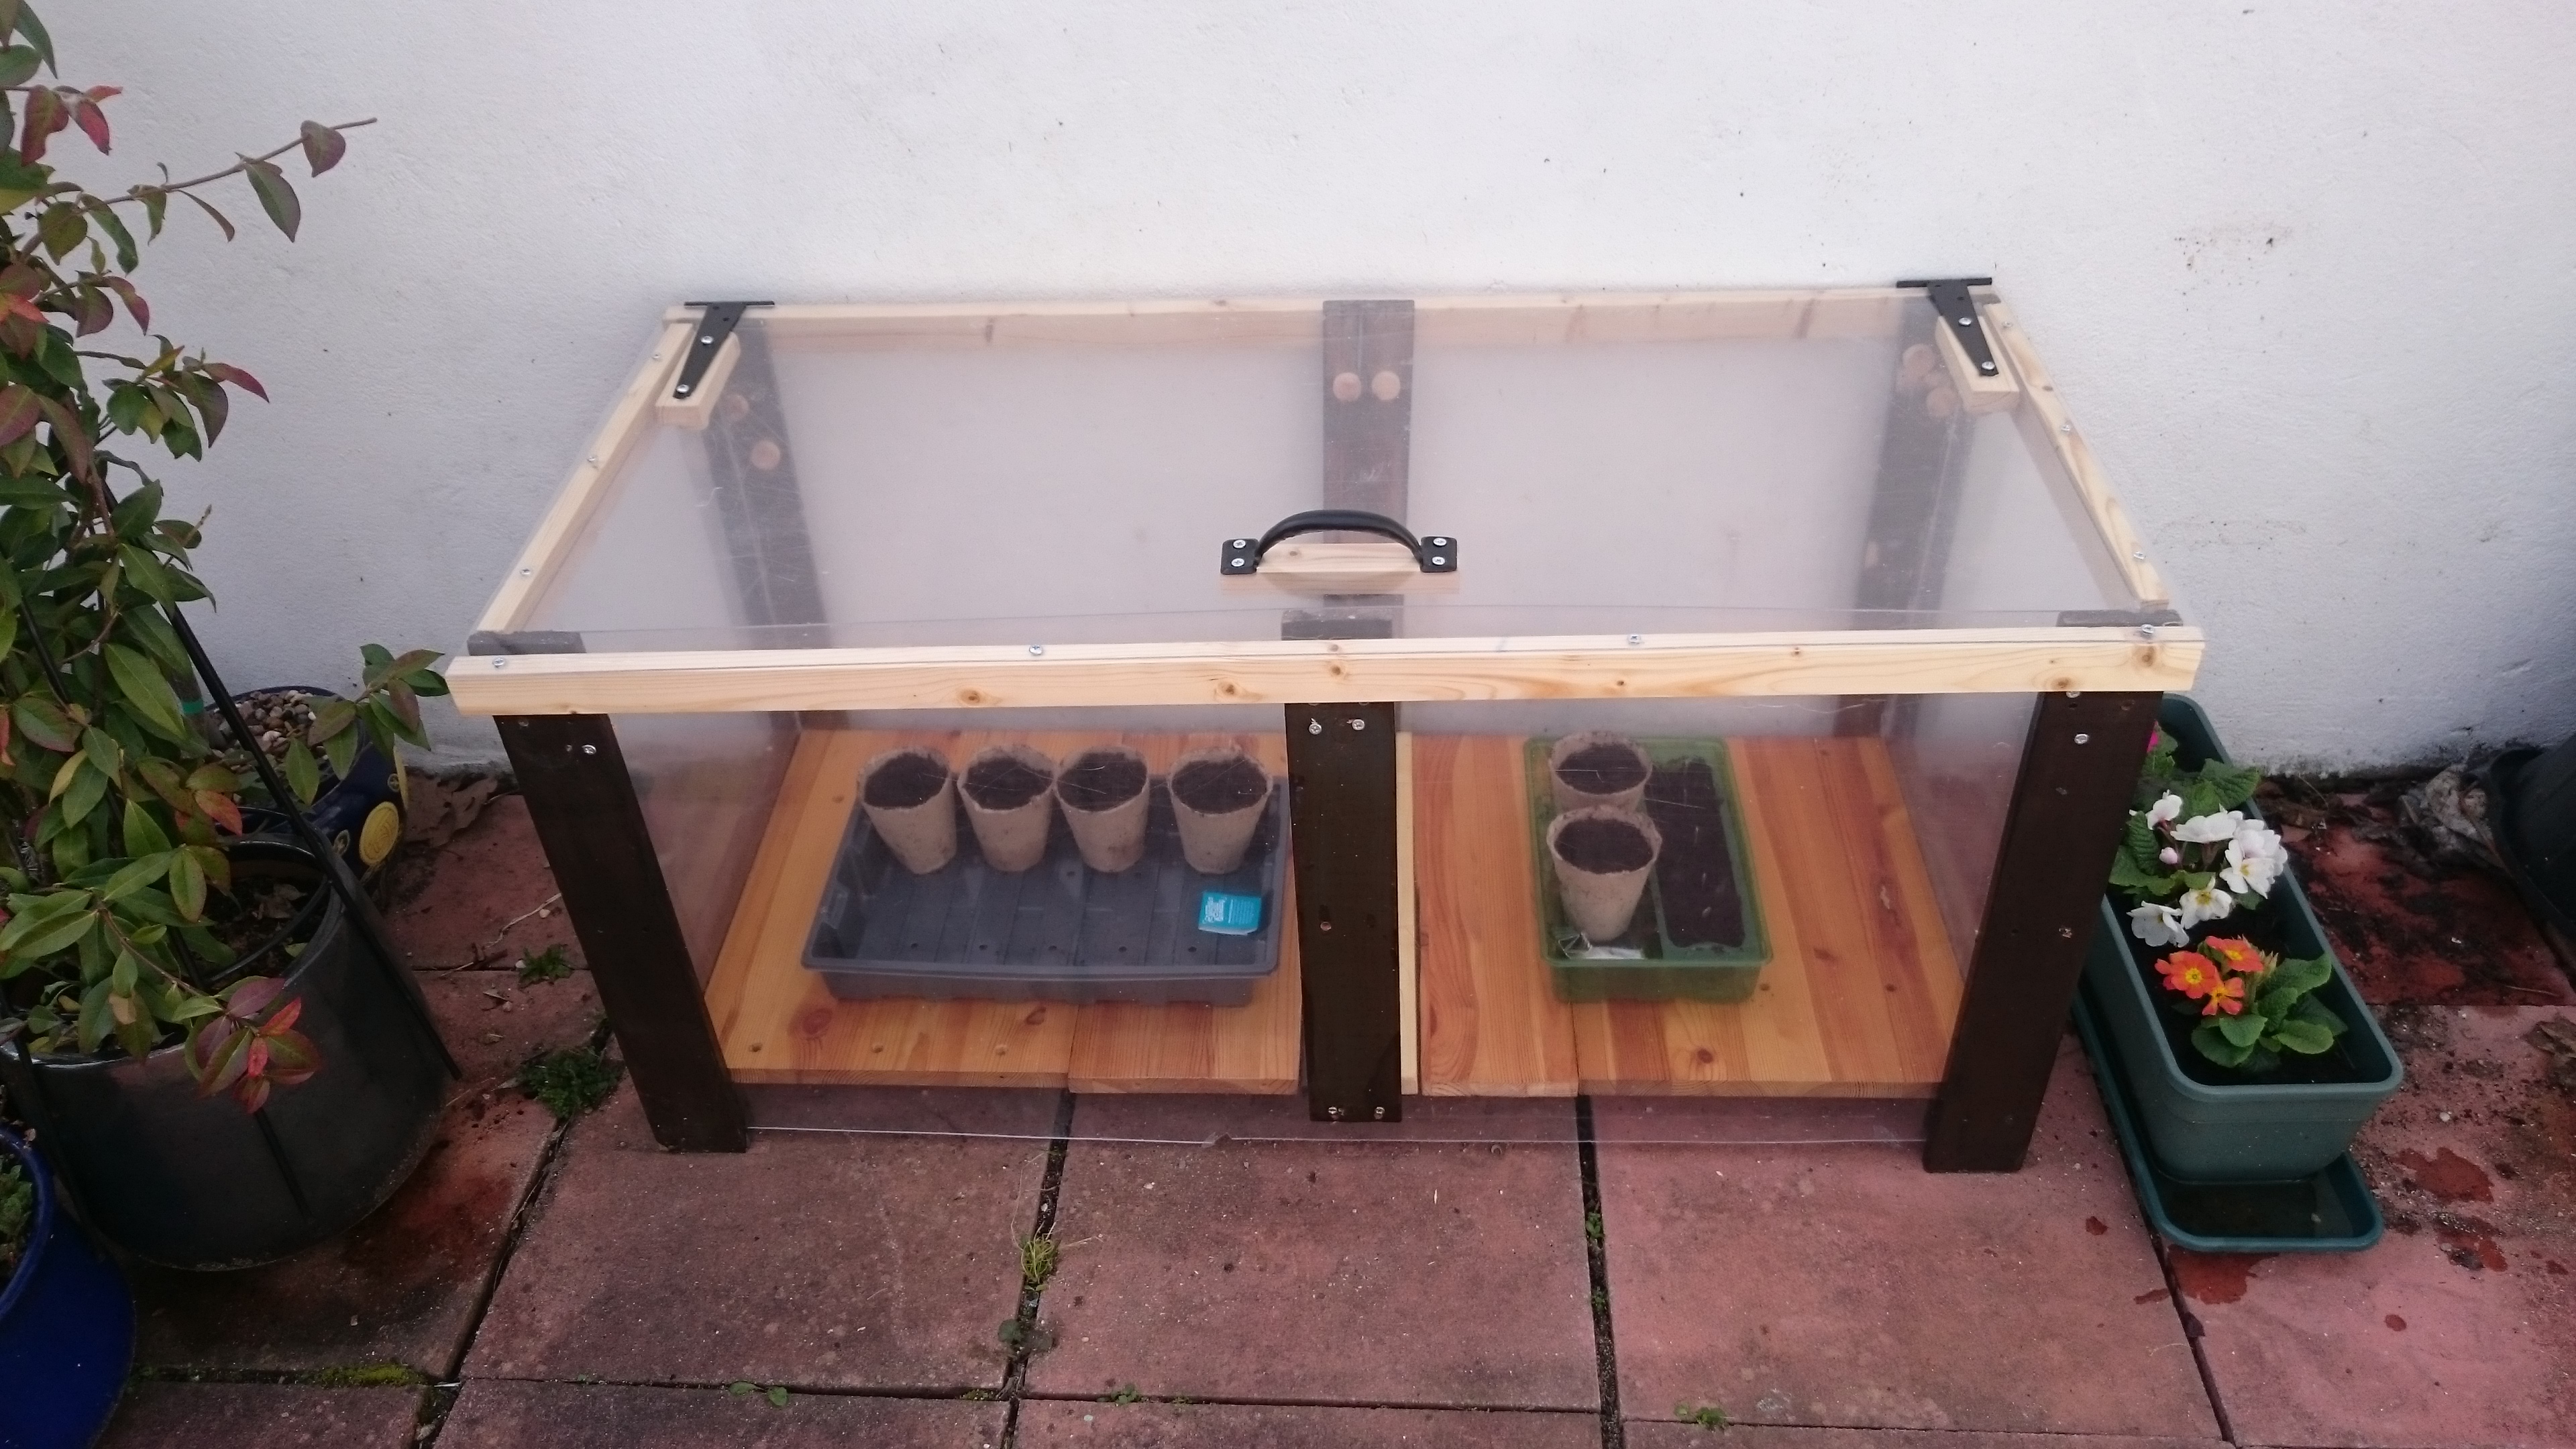
Giving an old TV stand a second life by turning it into a mini greenhouse. Ideas to be more self-sufficient with only a little inner city garden space available. The perfect project for a long Easter weekend.
Materials
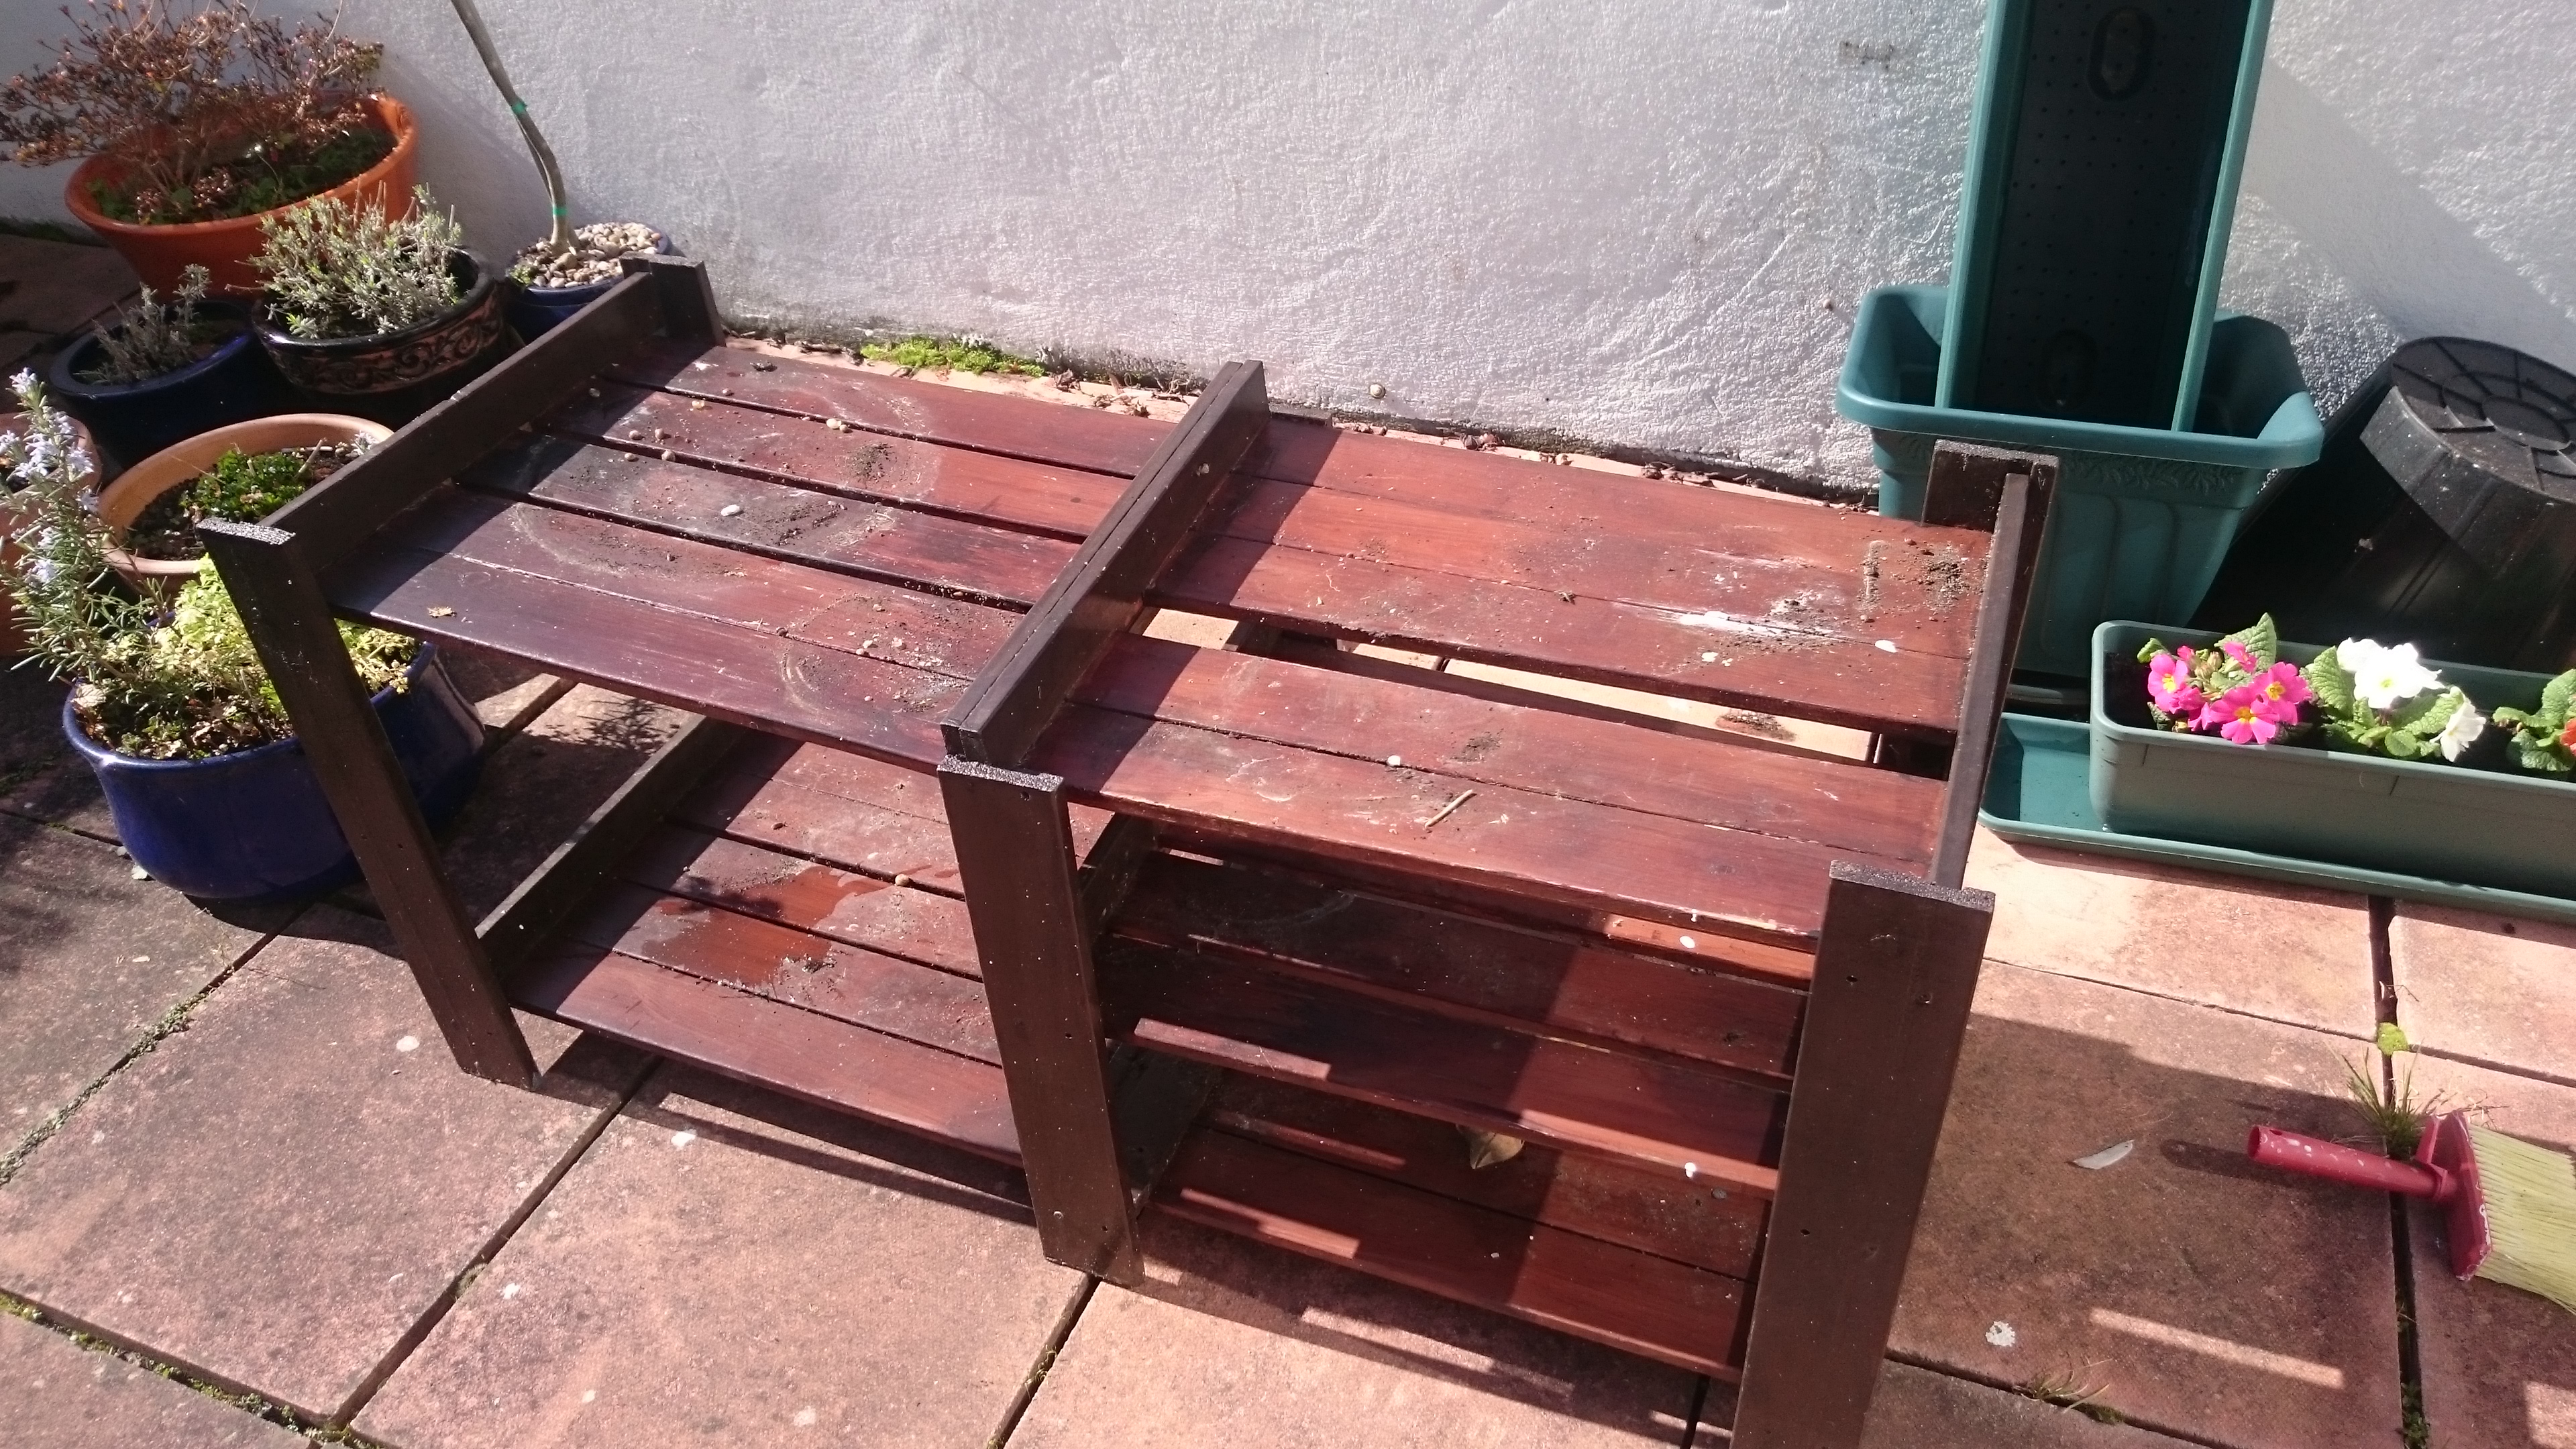
- 1 Old unloved wooden tv stand. Free..
- 4 sheets of clear plastic. 600mm x 1200mm x 2mm. £17 per sheet.
- 3m of wooden rods. £2
- Pack of screws. £1.50
- Handle. £2
- Outdoor hinges £2
- Wine bottle corks.
- Outdoor wood treatment oils.
- Poly-Adhesive £8.
Tools
- Workbench
- Drill
- Sandpaper
- Jigsaw
- Screwdriver
Gutting the shelves
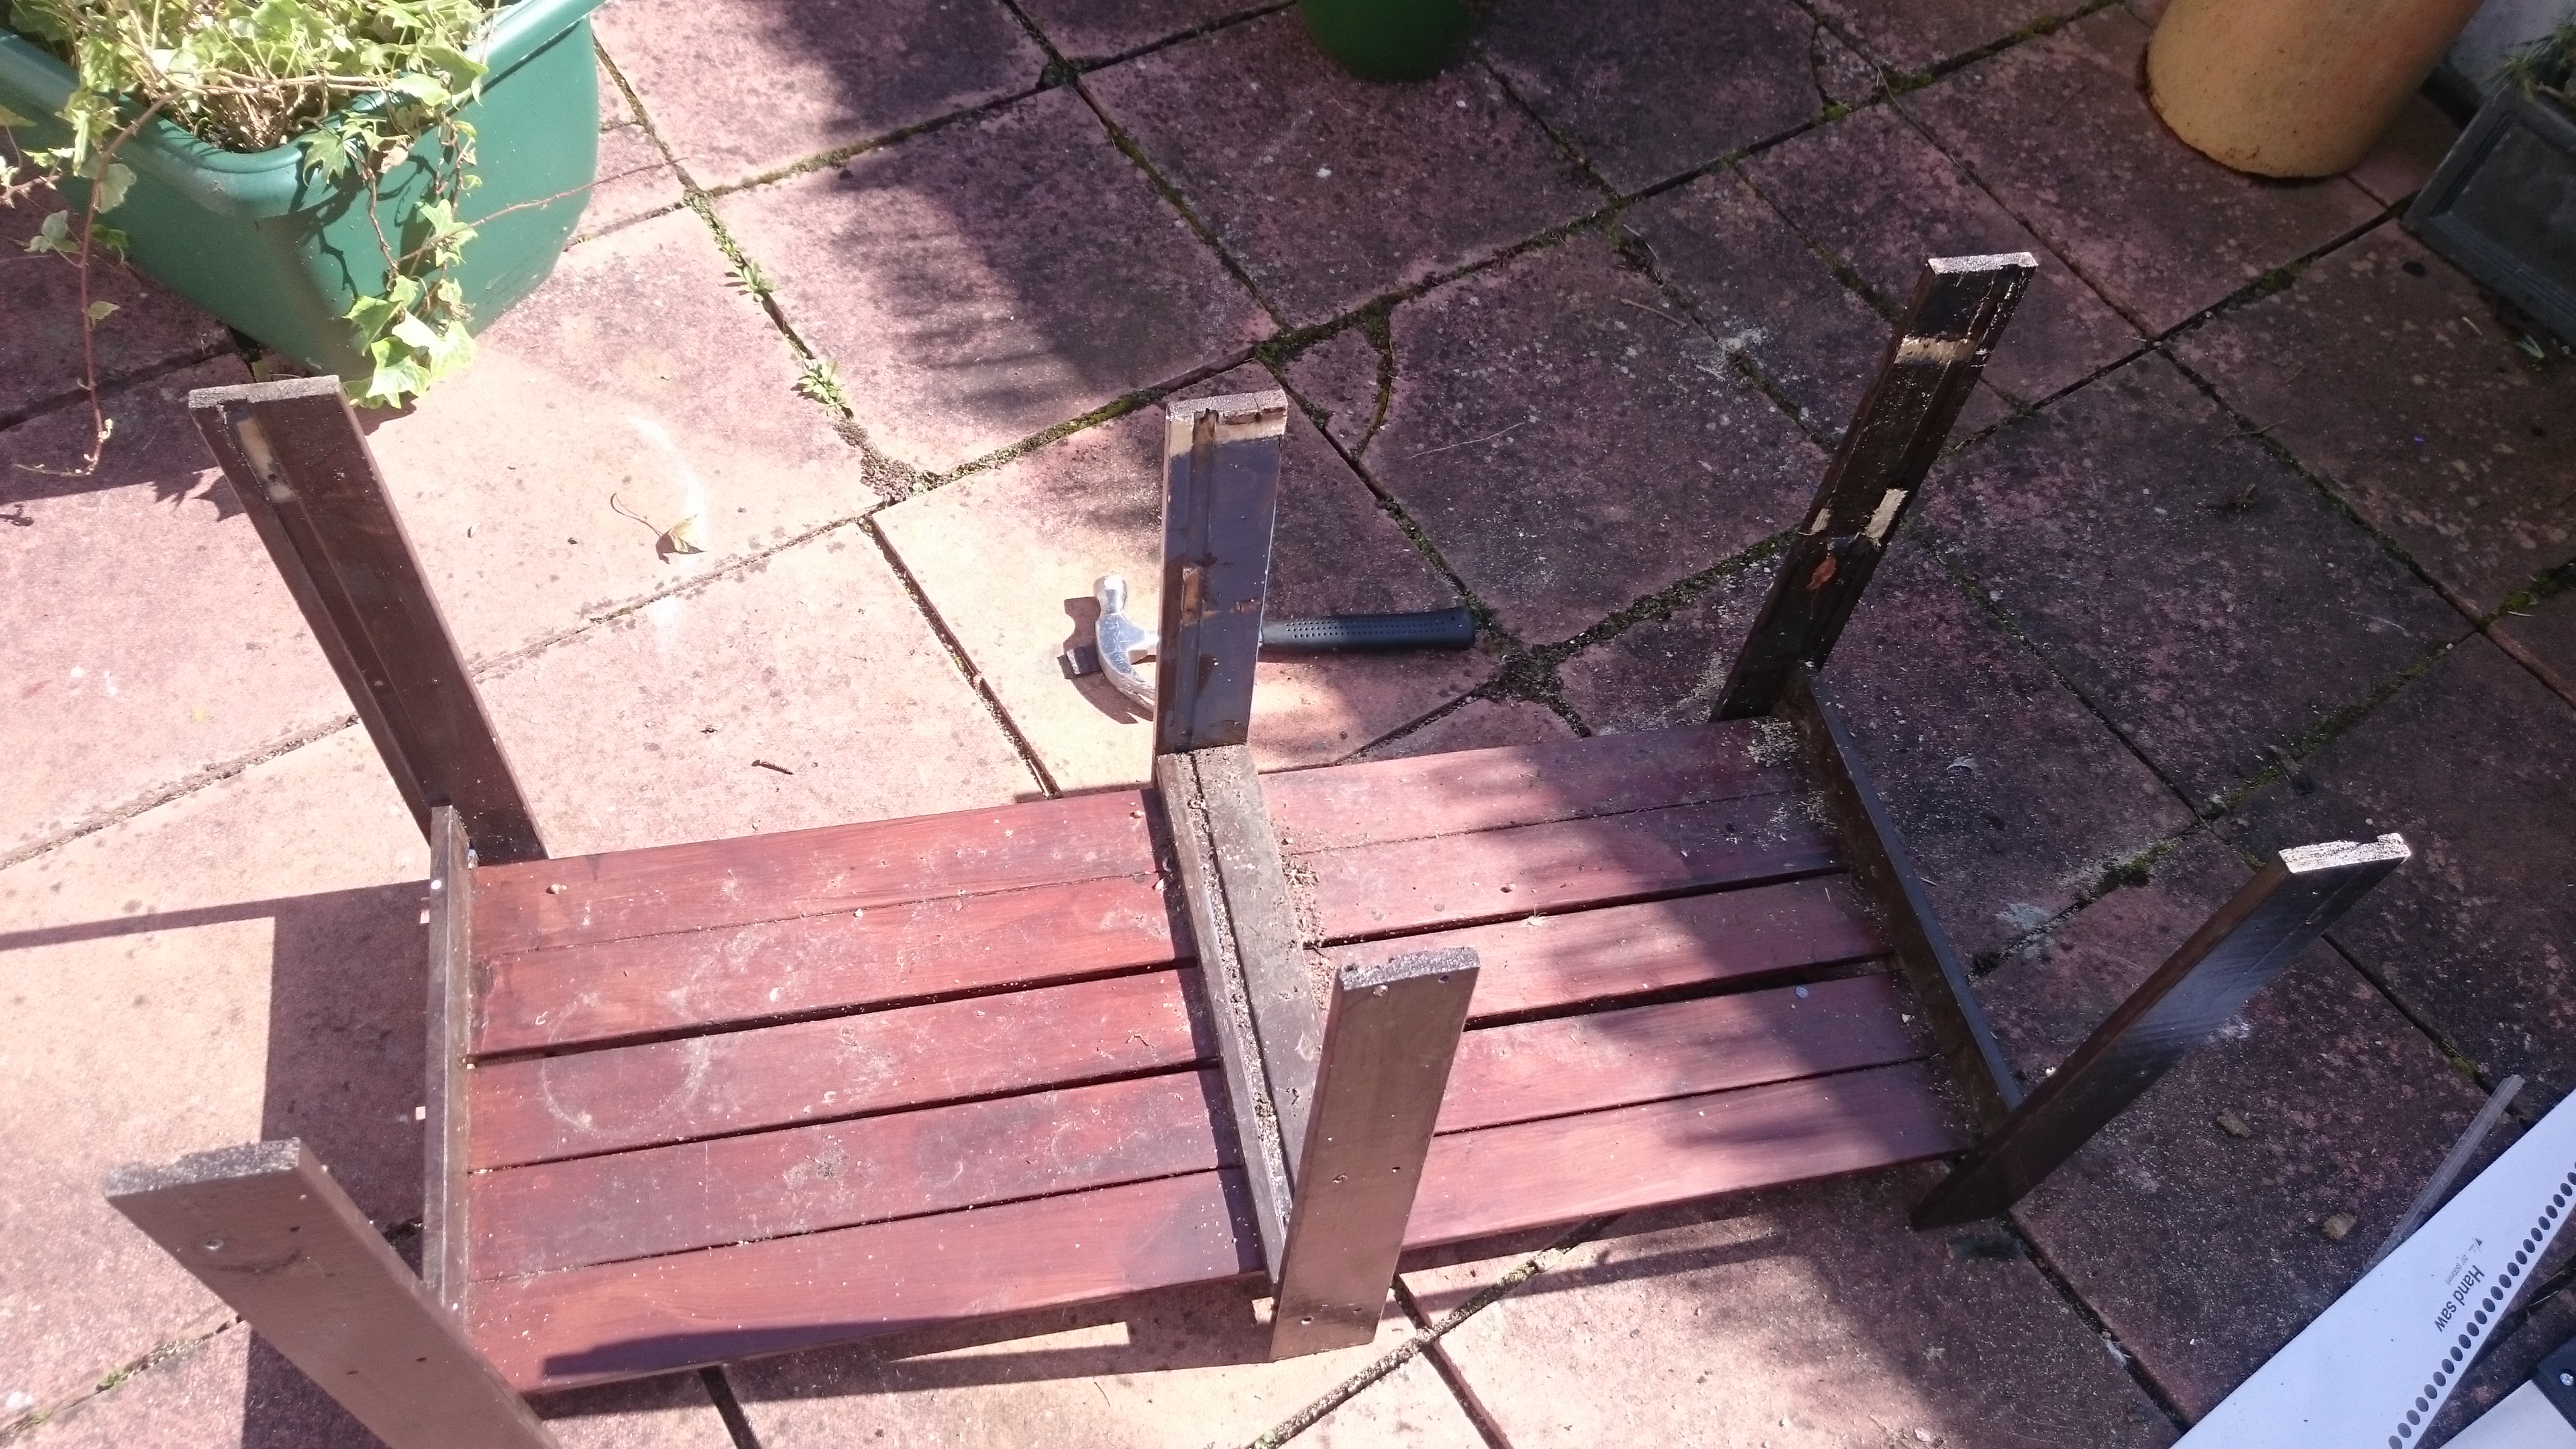
The screws were rusted and stuck into the wooden frame. As I wanted to reuse the sides to strengthen the greenhouse frame, I needed to keep the wood intact. I instead removed the shelves from the inside using a hand saw.
Cutting the plastic sheets
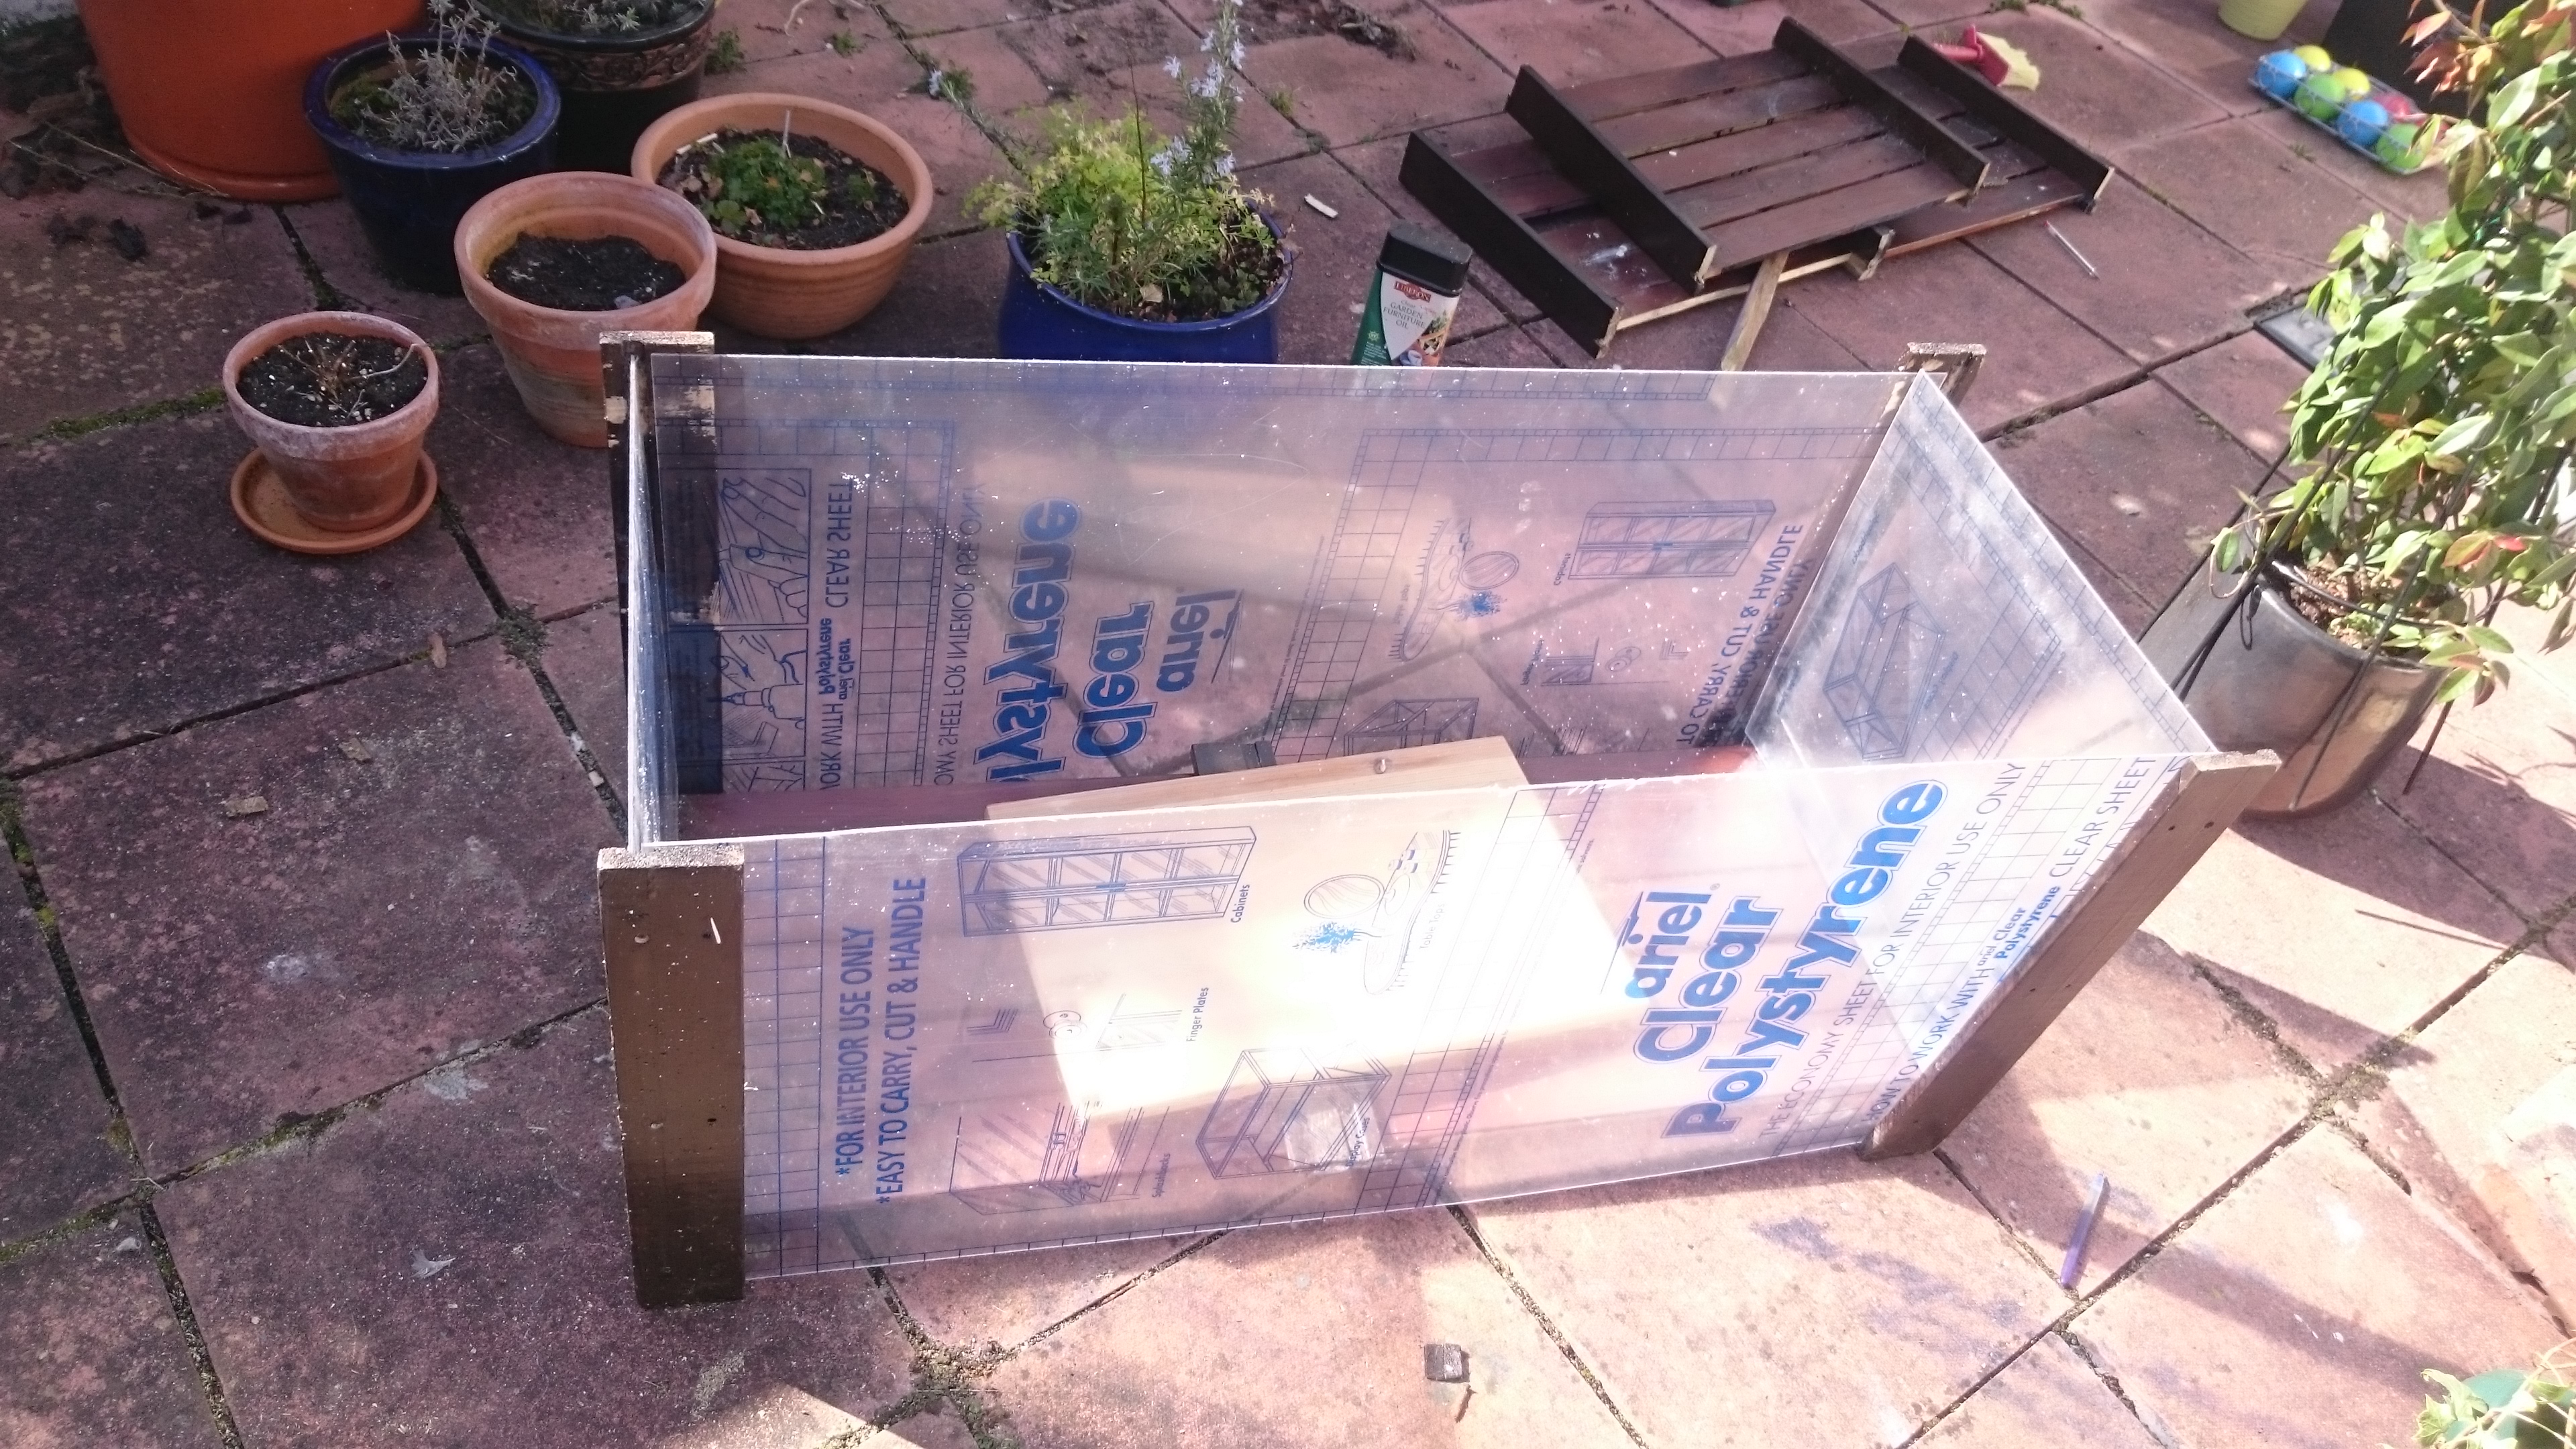
This material is quite brittle and takes a bit of care when cutting. I used a jigsaw with a fine blade, applied a bit of pressure and made sure the jigsaw was moving consistently when cutting. Even with this much care it still chipped and cracked a few times along the edges but these are hidden behind the panels or glued back using poly-adhesive.
Attaching the panels
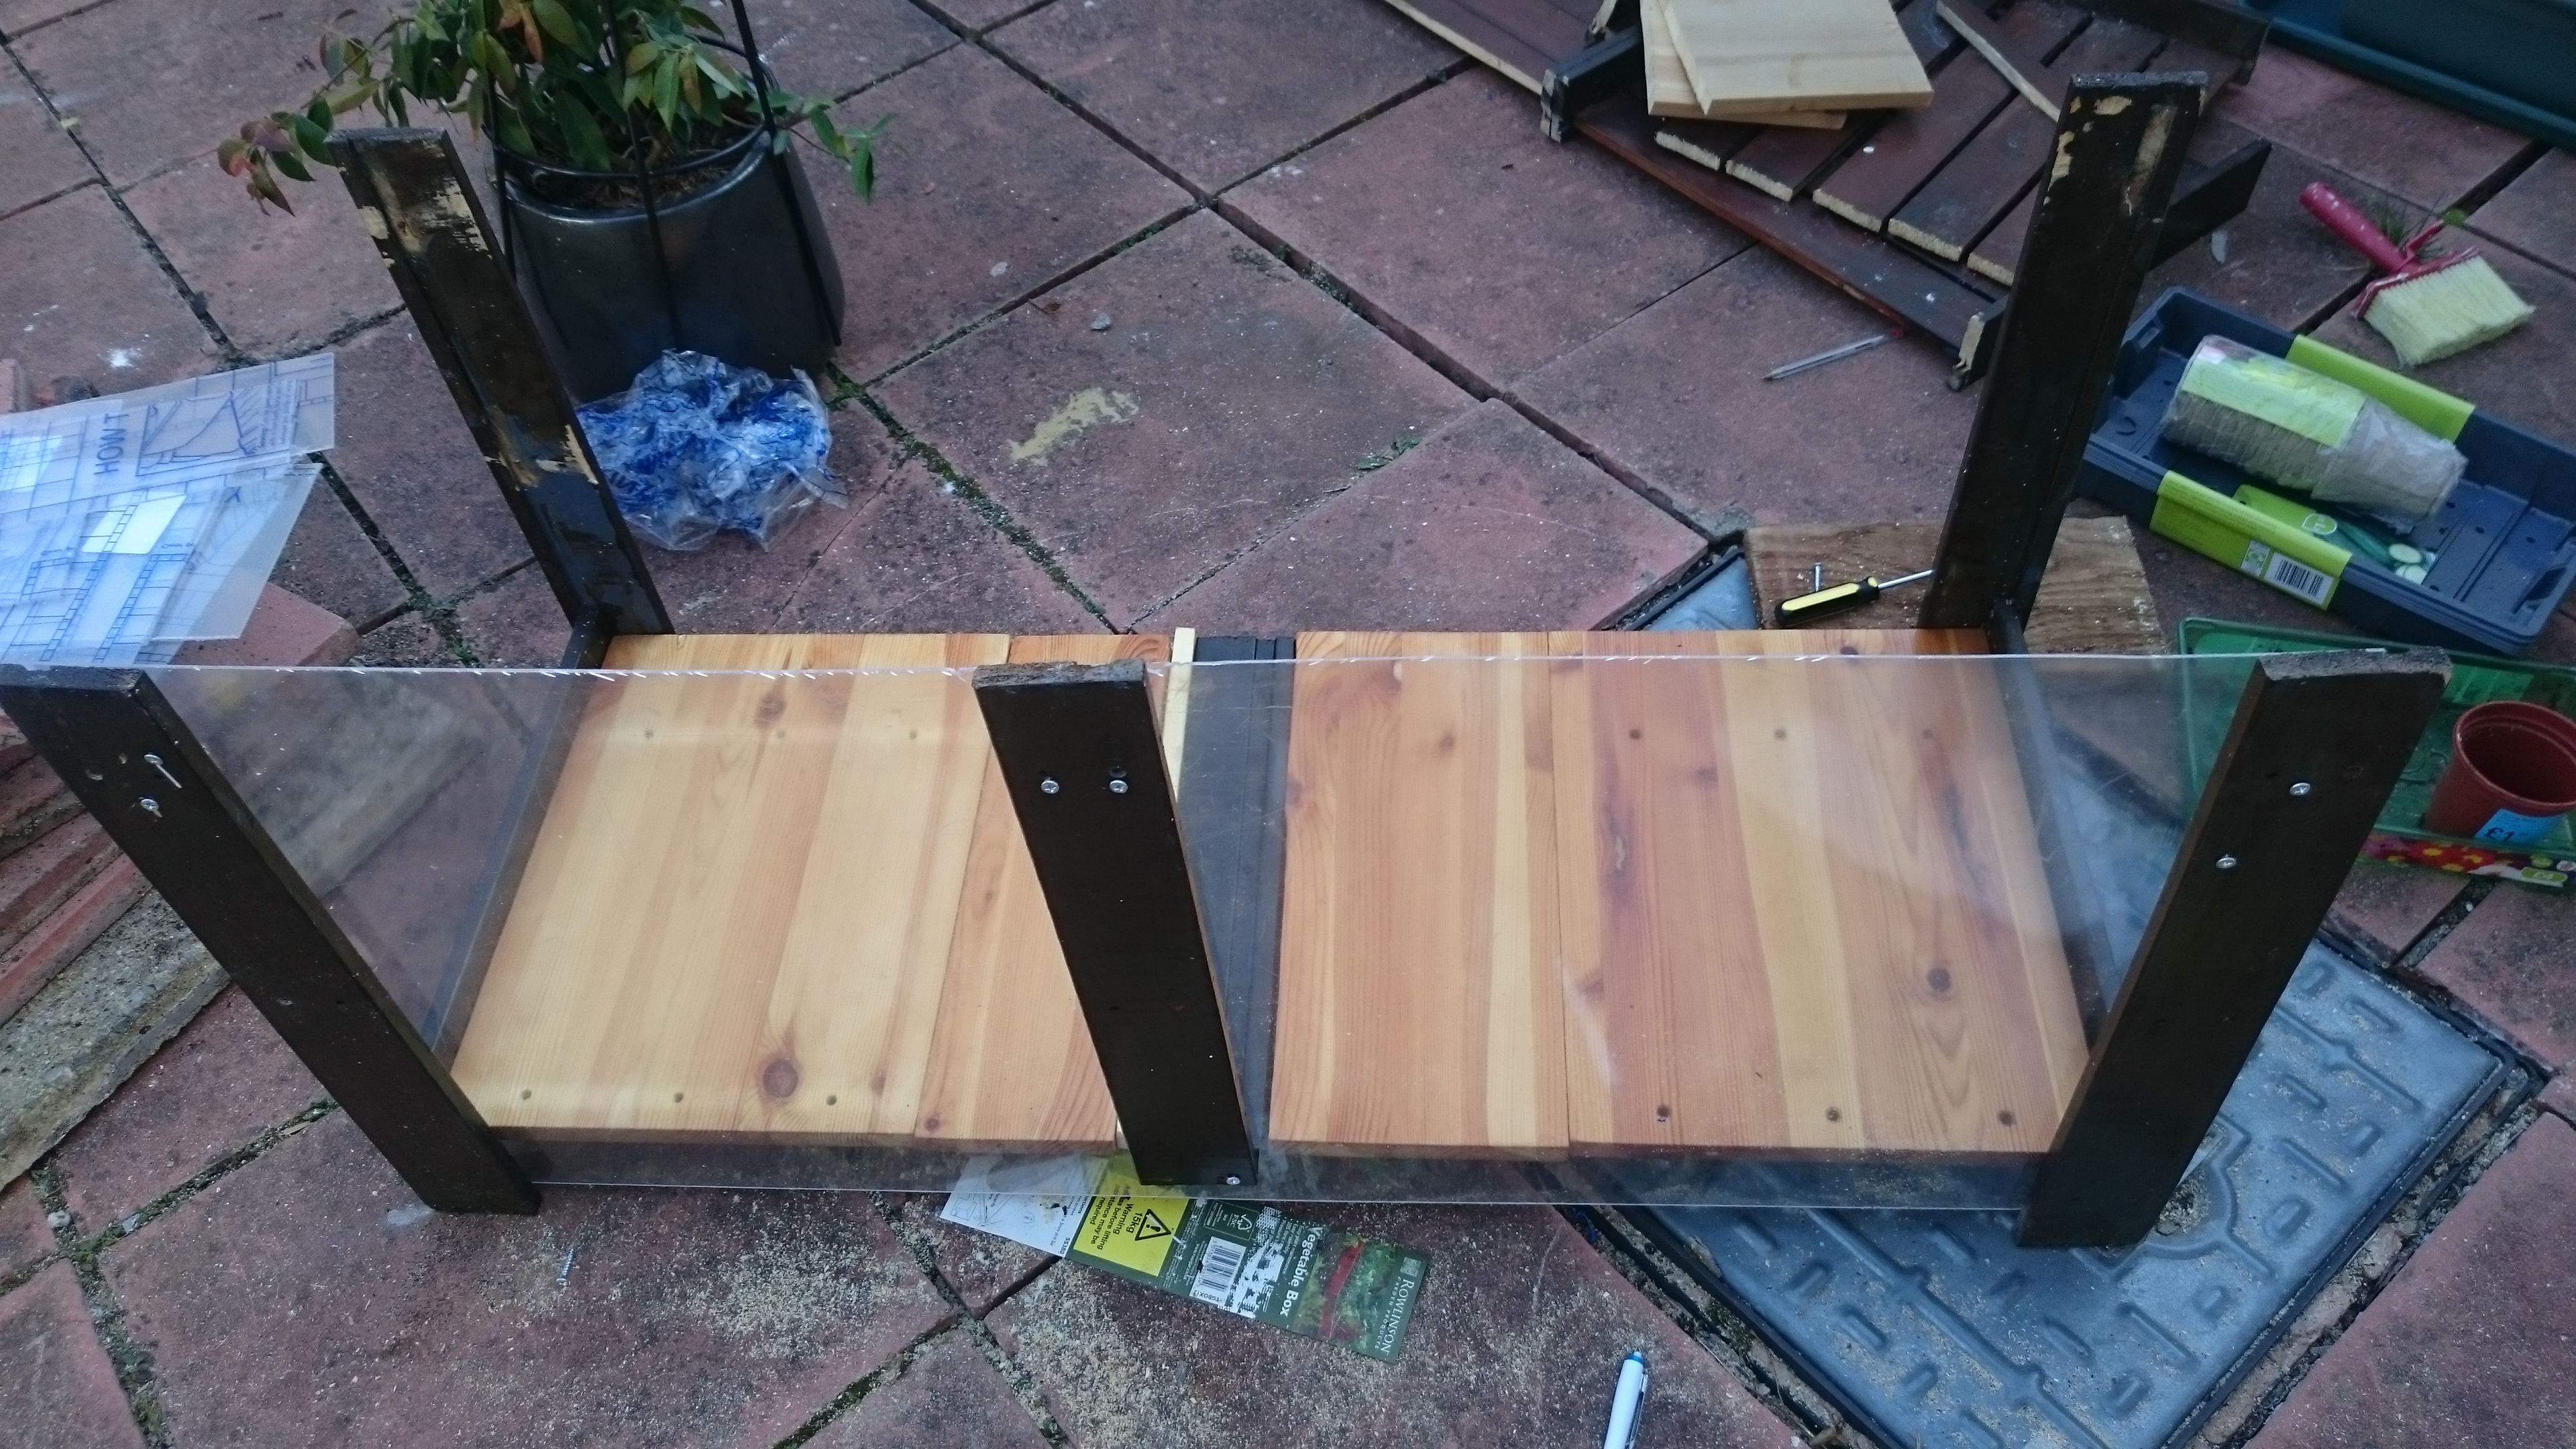
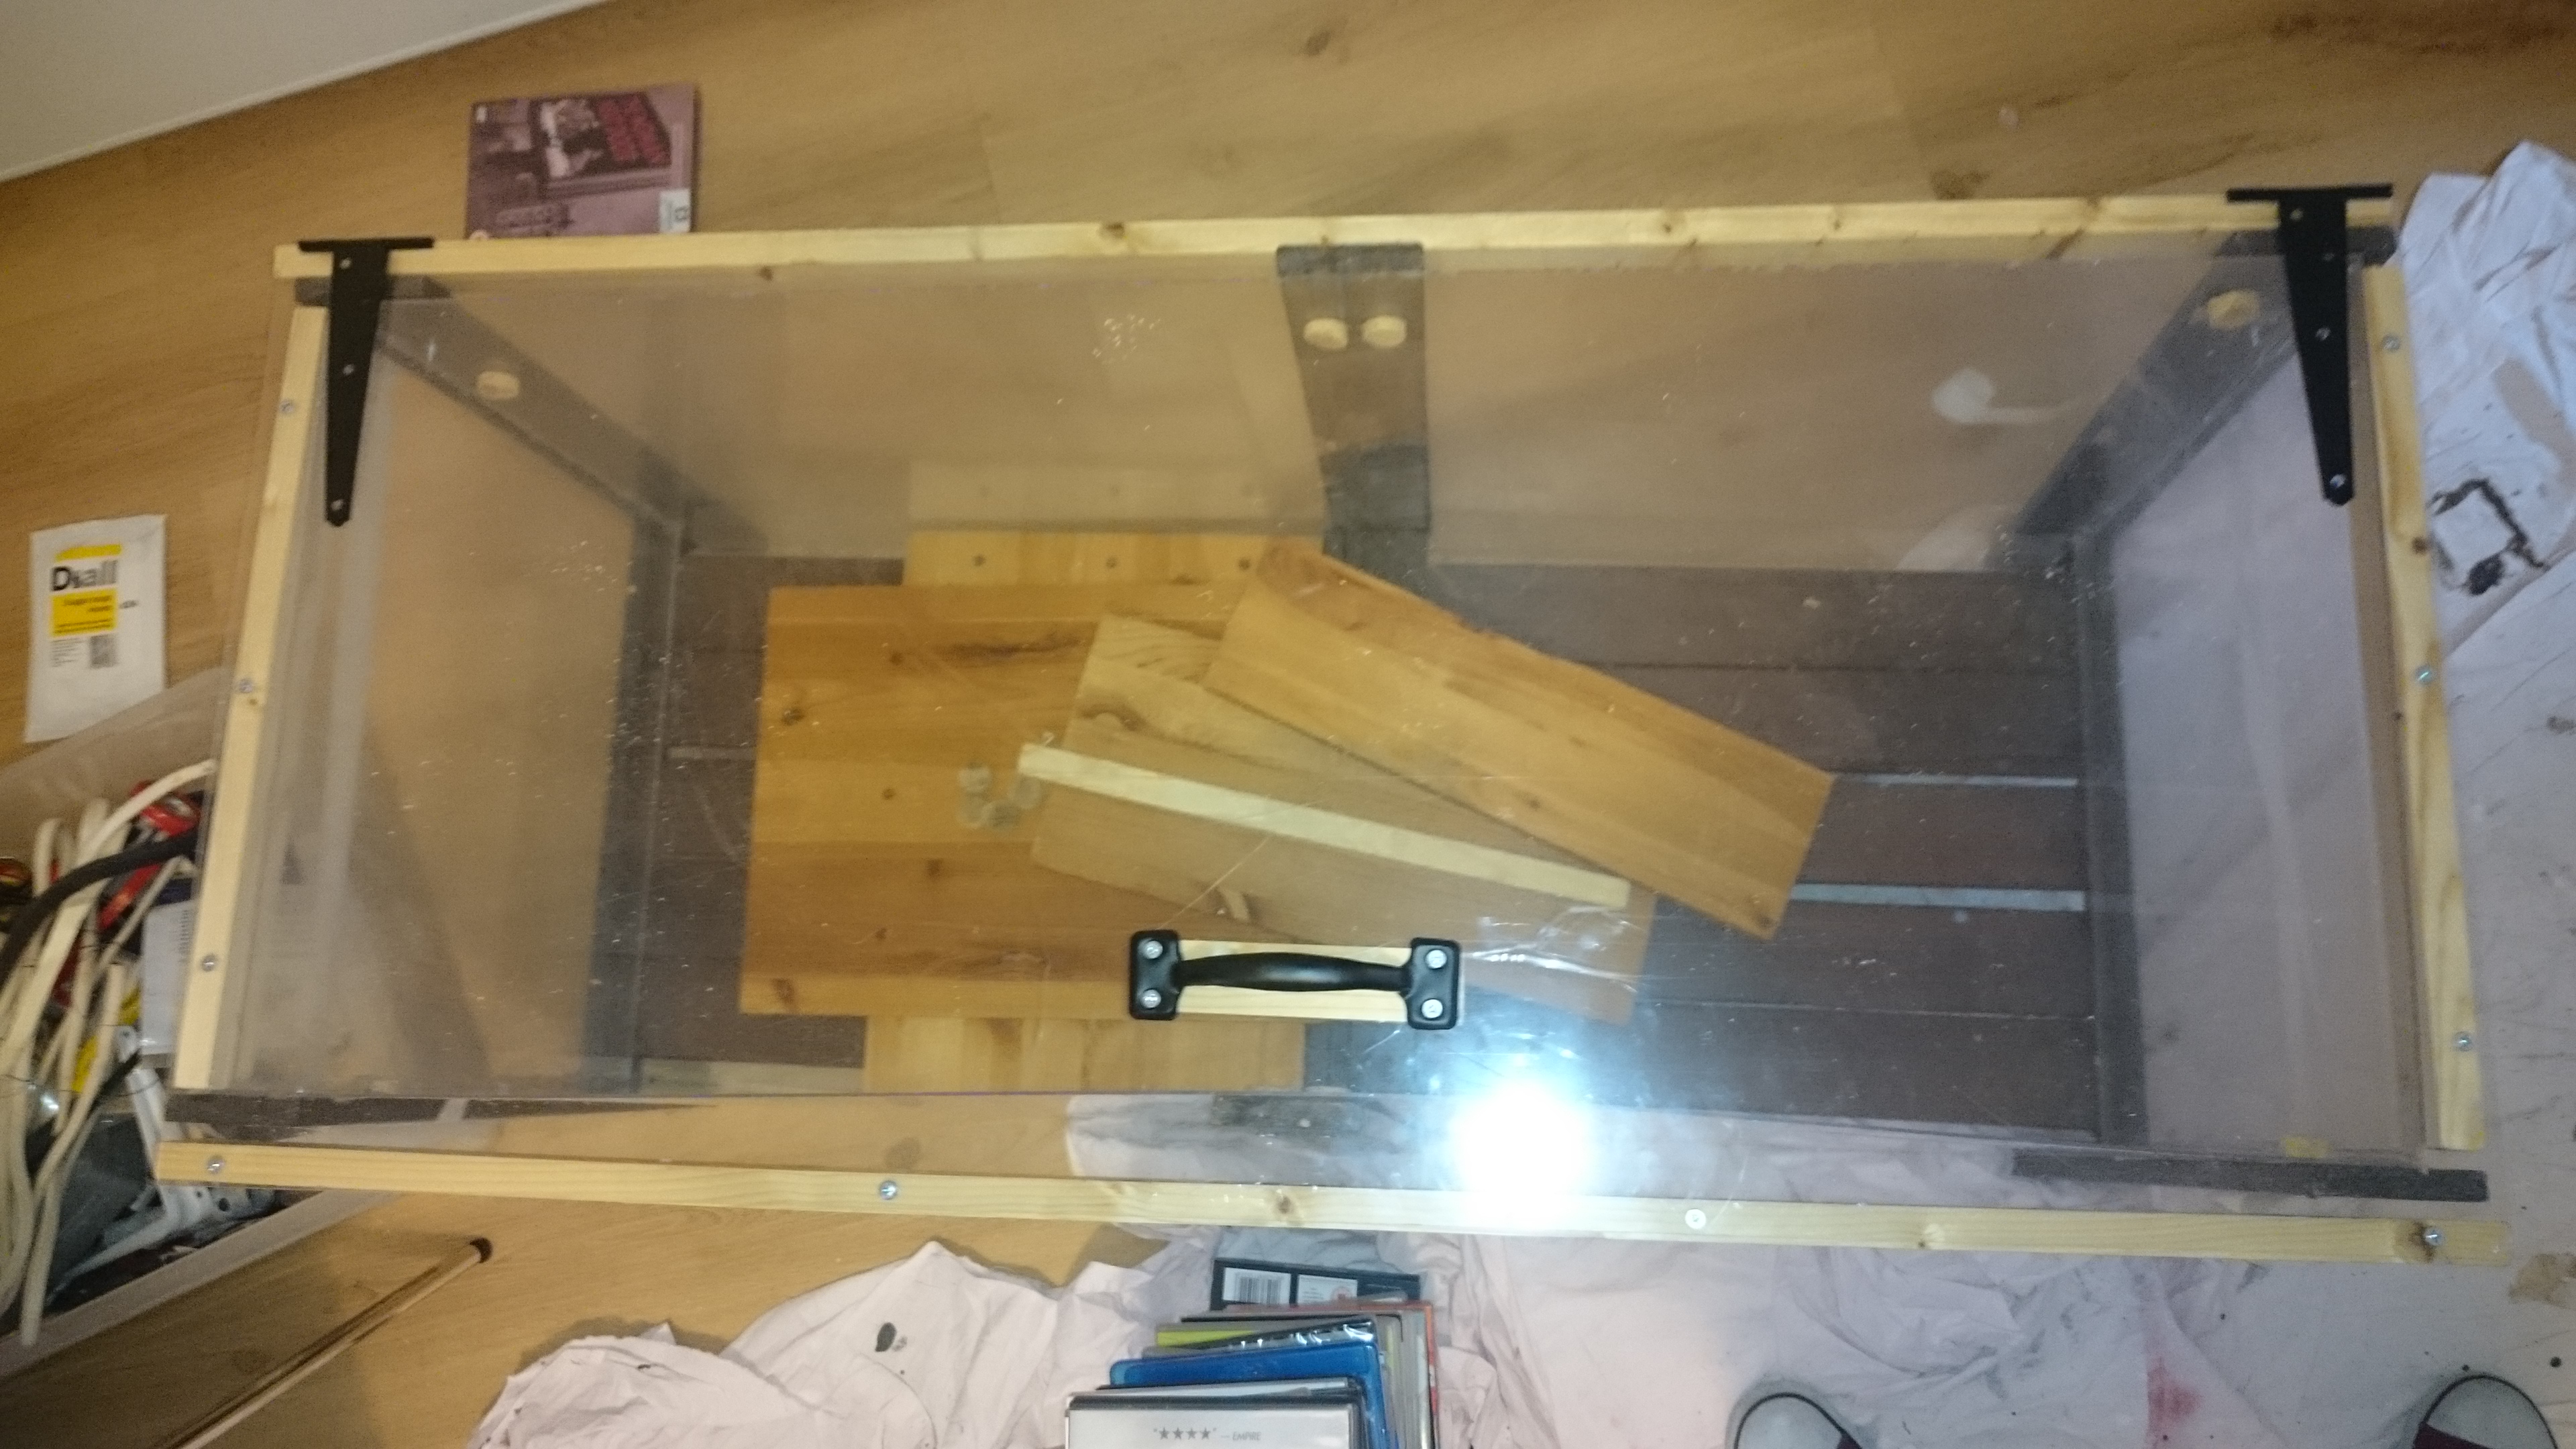
Again this requires more fun with plastic sheets , this time using a drill . It is well worth getting an old scrap of wood to place underneath the sheet whilst drilling through it. Again applying a bit of pressure , holding your breath and hoping for the best. Once the holes are drilled the sheet was screwed to the frame. I cut some other pieces of wood from some old ikea shelving to create a more flush and level bottom shelf. I attached the side panels directly to the front and back using adhesive. This seems to hold ok but if I find this fails from strong winds, I’ll strengthen by attaching to the bottom of the frame as well.
The lid
I used another plastic sheet of the same thickness, 2mm, but cut slightly wider and longer for the lid. I would recommend to get this thicker for a heavier lid if possible. Instead, I built a frame around the edge sheet to add the weight and create a lip around the top of the unit. I also added a handle and hinges to the beam at the back and used small cuts of spare wood to support on the plastic sheet.
Finishing touches
To make sure the unit is ready for the rain, and storm Katie forecast over the weekend, I treated all the pieces of wood with a few layers of an outdoor oil based treatement. I may also paint the top of the frame at a later date. To protect from the protruding screws whilst tending to plants, I sliced some wine bottle corks and placed them over the sharp ends.
Now to play the waiting game for these delicious vegetables..
